May 6, 2025

Most of us probably don’t know much about the technical aspects of motorcycles. That’s because we simply don’t want the hassle, don’t want the stress, and on top of that, we can always take our bike to a workshop when something breaks or goes wrong.
However, in certain situations, we’re left with no choice but to fix the issue ourselves. One such situation is when your bike won’t start or respond to the electric starter. That’s why knowing how to replace your motorcycle battery is a skill worth having. This time, Dynavolt will explain how to install a battery on a Yamaha Aerox. Let’s take a look at the steps below.
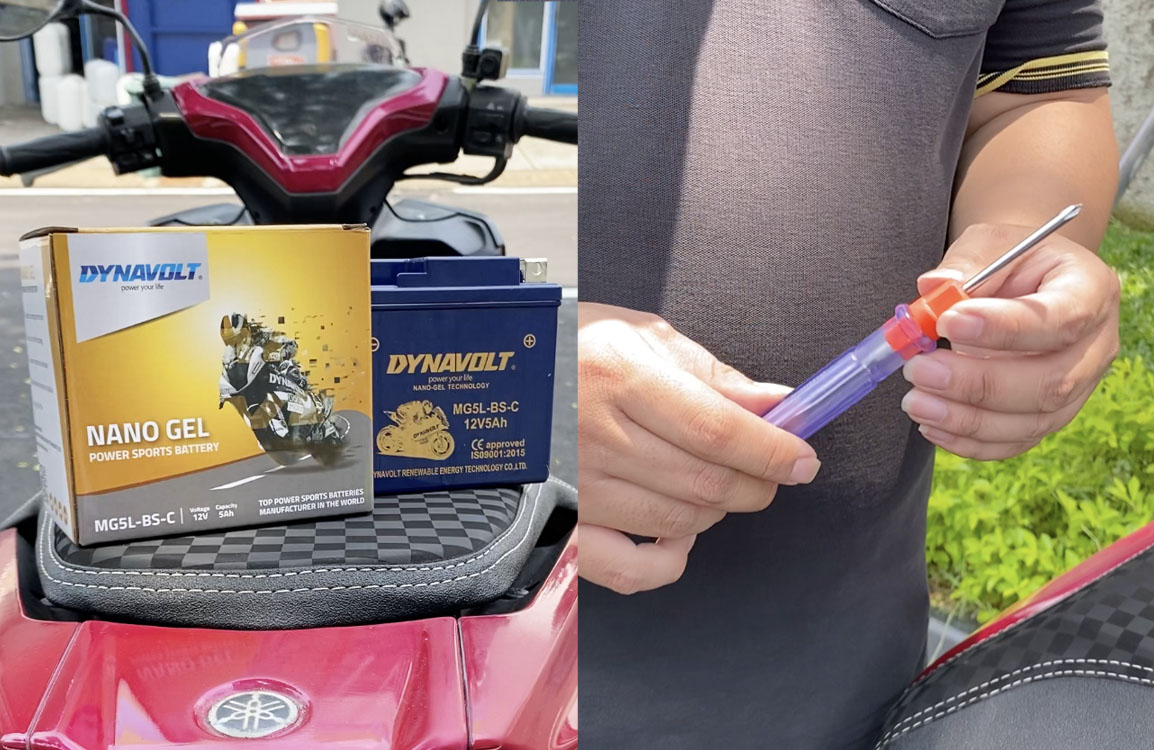
Tools needed to install the motorcycle battery
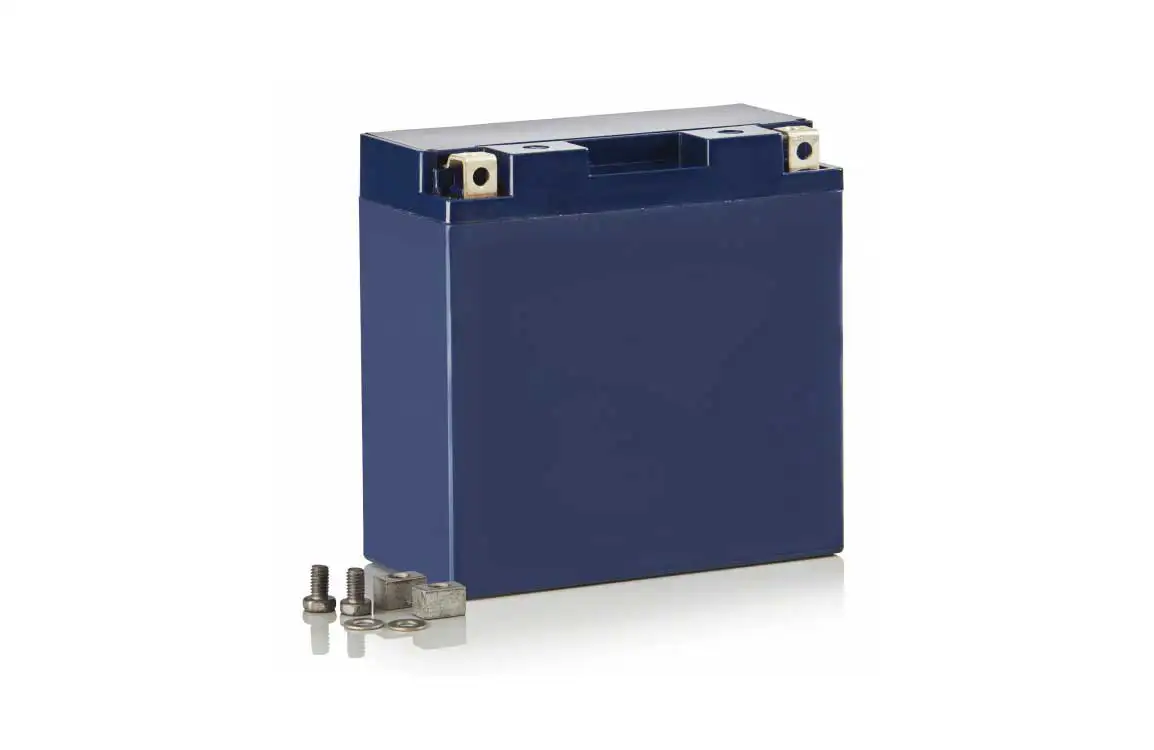
You don’t actually need many tools to install a motorcycle battery. First, of course, you’ll need the battery itself. Choose a high-quality, tested battery to ensure long-lasting use. Second, you’ll need a Phillips screwdriver to remove the screws from the battery compartment.
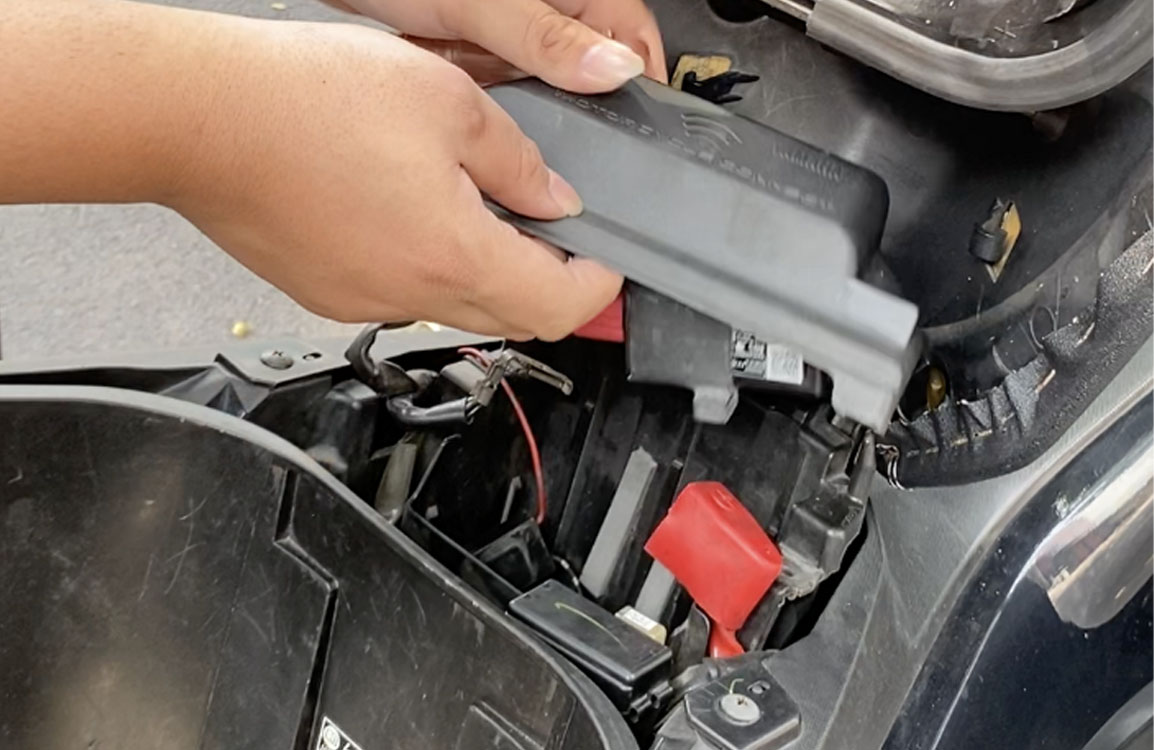
Illustration of opening the battery compartment on a Yamaha Aerox
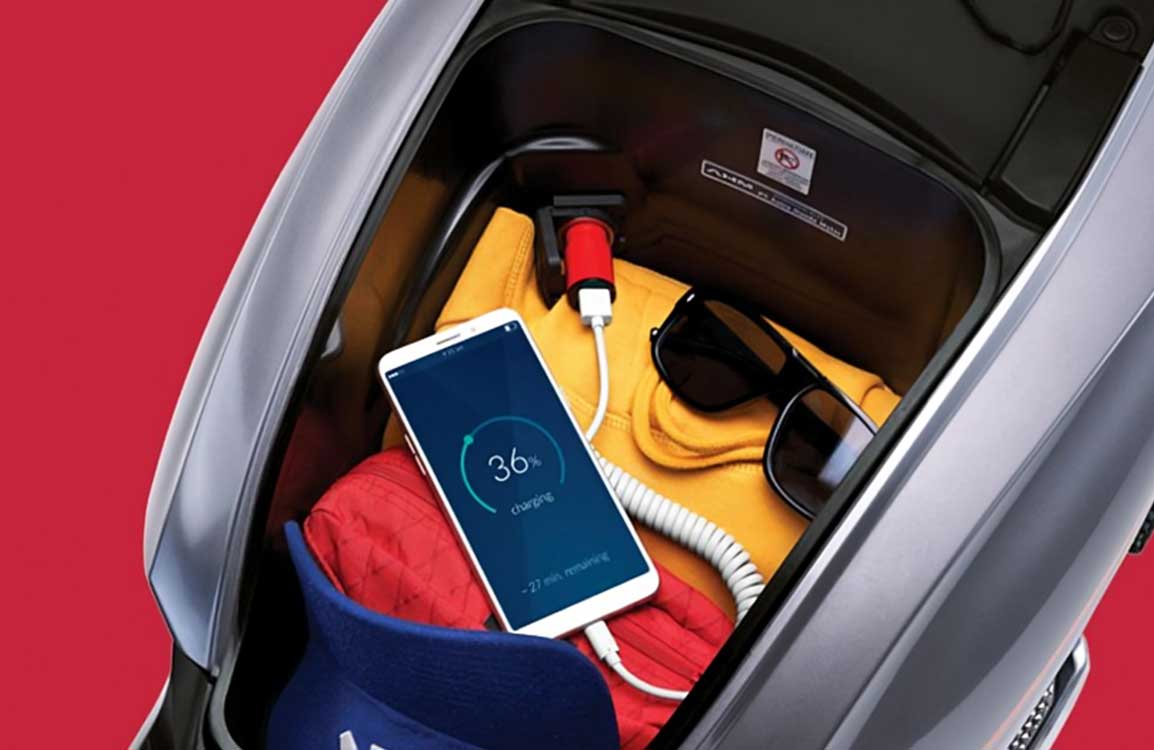
Open the battery cover on your Yamaha Aerox. Every motorbike has its own dedicated battery compartment. For the Yamaha Aerox, the battery is located under the seat. You’ll need to remove a few screws to access it. But if your motorbike doesn’t have a cover, you can directly place the battery into its slot.
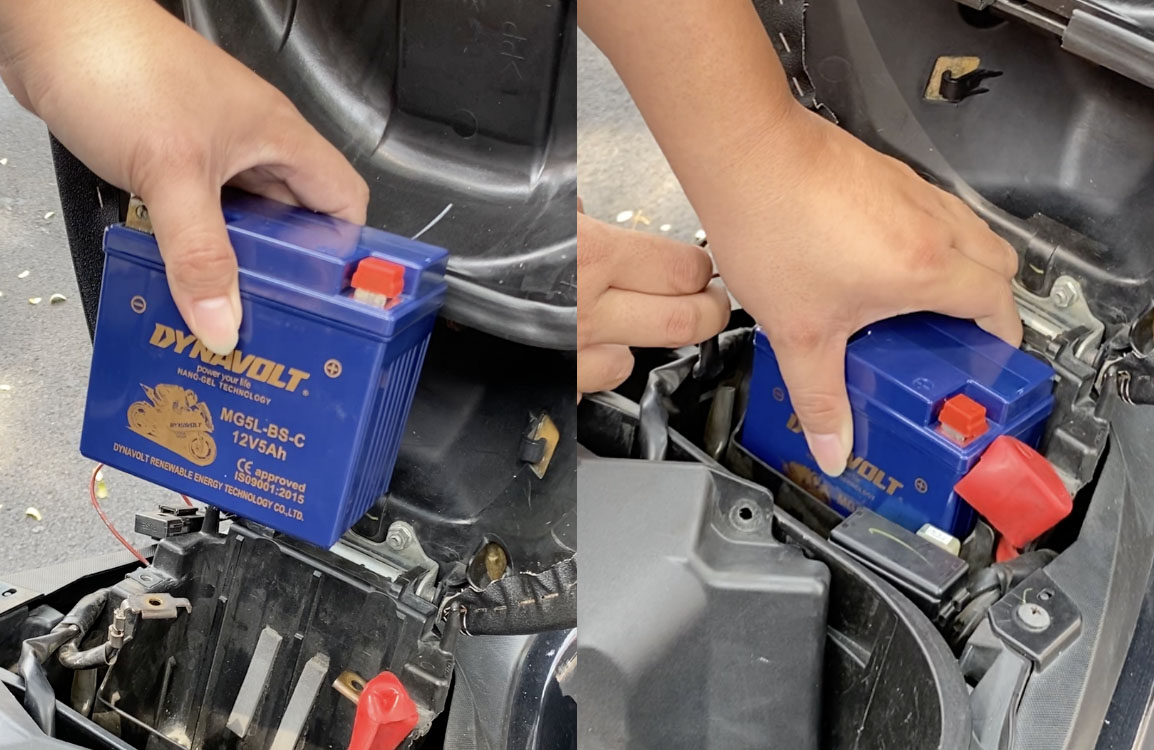
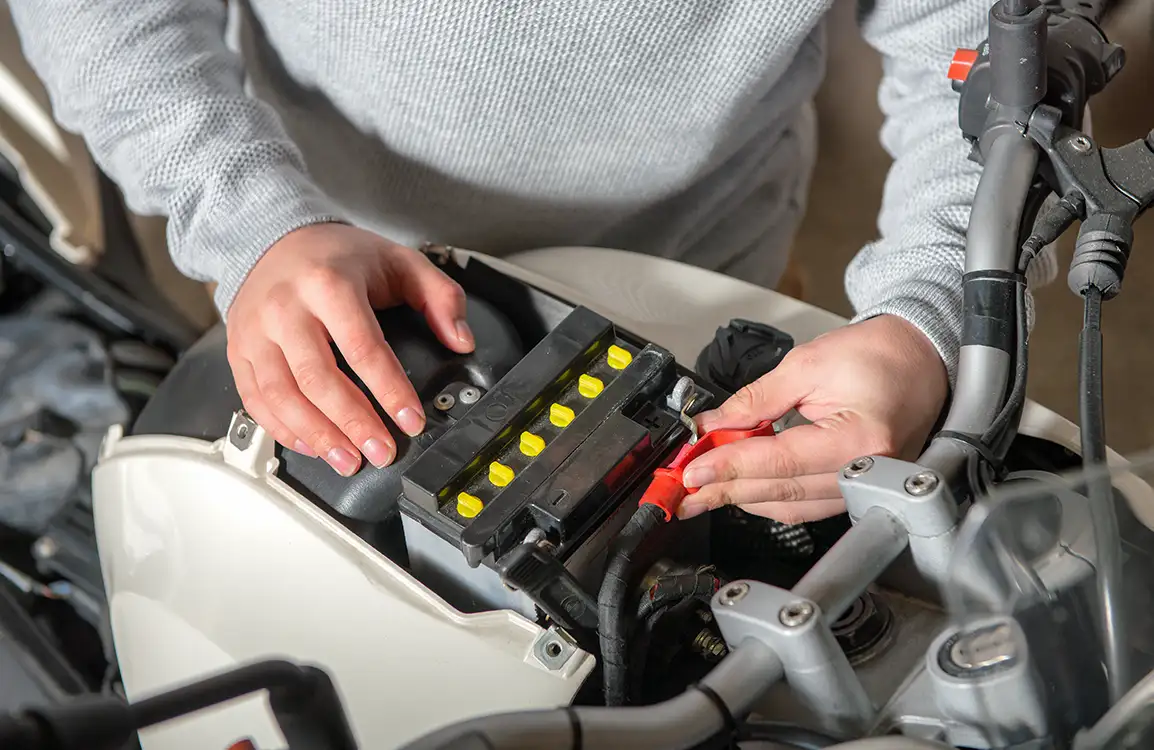
Illustration of inserting the battery into place on a Yamaha Aerox
Before inserting the battery, make sure the position is aligned with the positive terminal (red) and negative terminal (black). You can also clean the battery slot to remove any dust or debris. Then carefully insert the battery into the compartment to avoid scratches or damage.
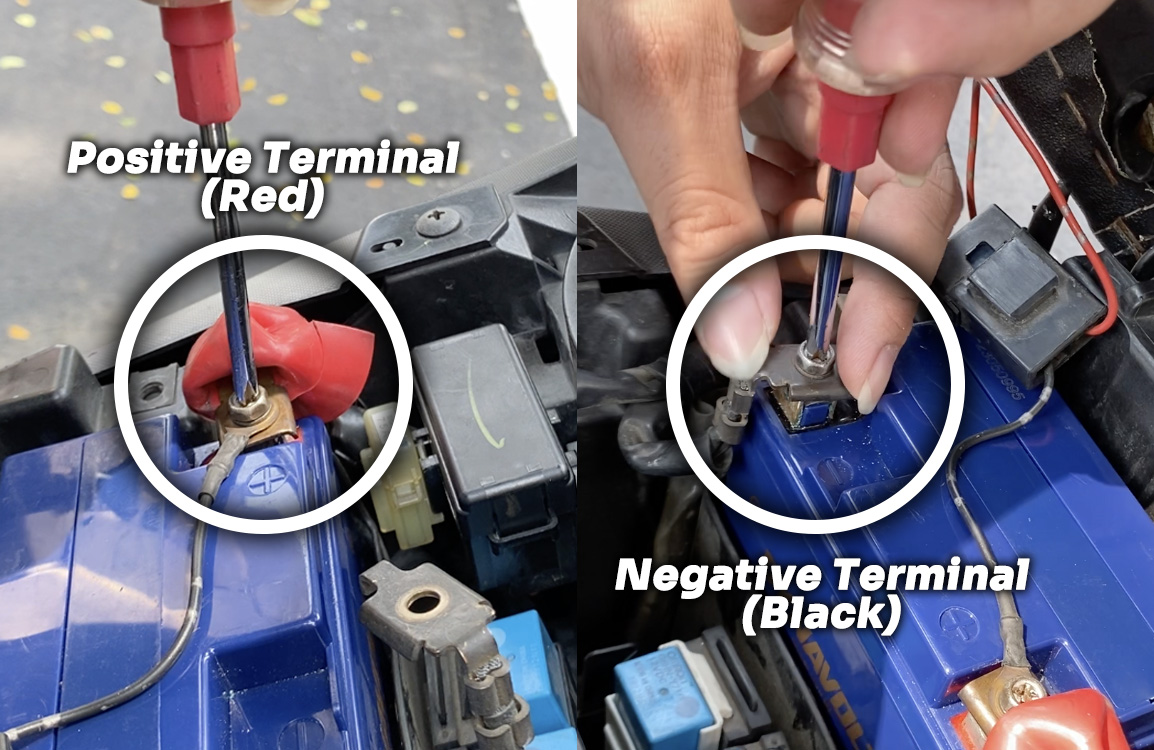
Illustration of connecting the cables to the positive and negative terminals
After placing the battery, connect the positive cable (red) and the negative cable (black) to the respective terminals. Tighten the screws on each terminal. Be careful here, battery terminal screws are small and can easily slip and fall into the compartment. A helpful tip is to attach the cable and screw together at once, so tightening becomes easier.
Once you’re done, put the battery compartment cover back in place. Make sure all the sides are properly locked so the seat can close securely. When everything fits well, tighten the screws on the battery cover.

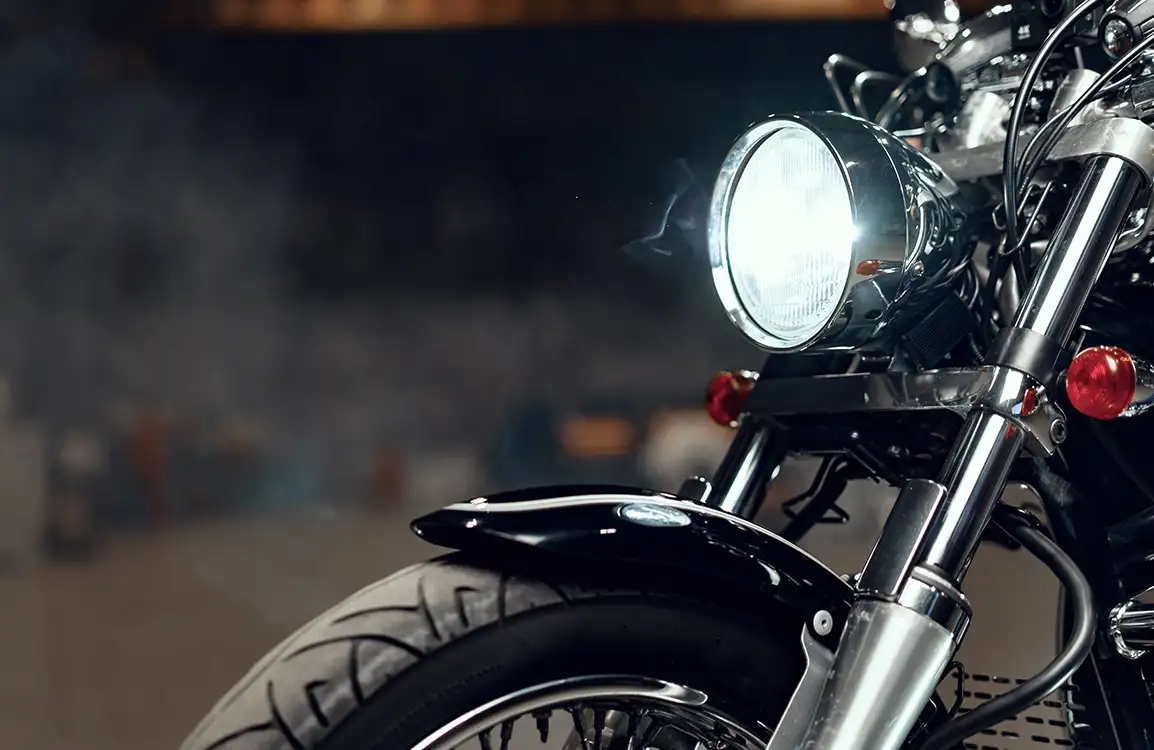
Illustration of using the electric starter on a Yamaha Aerox
To test whether the battery works, try starting the engine with the electric starter. If everything is installed correctly, the motorbike should start right away. But if it doesn’t, double-check the cable connections to ensure they’re properly installed. If you’re using a Dynavolt Nano-Gel battery, starting the engine becomes even easier. Your ride is guaranteed to be Easy Start N Go.
Easy, right? Now you don’t need to worry anymore if your battery suddenly dies. What matters most is being prepared with a Dynavolt battery, so your motorbike stays in top condition with long-lasting performance.

Most of us probably don’t know much about the technical aspects of motorcycles. That’s because we simply don’t want the hassle, don’t want the stress, and on top of that, we can always take our bike to a workshop when something breaks or goes wrong.
However, in certain situations, we’re left with no choice but to fix the issue ourselves. One such situation is when your bike won’t start or respond to the electric starter. That’s why knowing how to replace your motorcycle battery is a skill worth having. This time, Dynavolt will explain how to install a battery on a Yamaha Aerox. Let’s take a look at the steps below.
Tools needed to install the motorcycle battery
You don’t actually need many tools to install a motorcycle battery. First, of course, you’ll need the battery itself. Choose a high-quality, tested battery to ensure long-lasting use. Second, you’ll need a Phillips screwdriver to remove the screws from the battery compartment.
Illustration of opening the battery compartment on a Yamaha Aerox
Open the battery cover on your Yamaha Aerox. Every motorbike has its own dedicated battery compartment. For the Yamaha Aerox, the battery is located under the seat. You’ll need to remove a few screws to access it. But if your motorbike doesn’t have a cover, you can directly place the battery into its slot.
Illustration of inserting the battery into place on a Yamaha Aerox
Before inserting the battery, make sure the position is aligned with the positive terminal (red) and negative terminal (black). You can also clean the battery slot to remove any dust or debris. Then carefully insert the battery into the compartment to avoid scratches or damage.
Illustration of connecting the cables to the positive and negative terminals
After placing the battery, connect the positive cable (red) and the negative cable (black) to the respective terminals. Tighten the screws on each terminal. Be careful here, battery terminal screws are small and can easily slip and fall into the compartment. A helpful tip is to attach the cable and screw together at once, so tightening becomes easier.
Once you’re done, put the battery compartment cover back in place. Make sure all the sides are properly locked so the seat can close securely. When everything fits well, tighten the screws on the battery cover.
Illustration of using the electric starter on a Yamaha Aerox
To test whether the battery works, try starting the engine with the electric starter. If everything is installed correctly, the motorbike should start right away. But if it doesn’t, double-check the cable connections to ensure they’re properly installed. If you’re using a Dynavolt Nano-Gel battery, starting the engine becomes even easier. Your ride is guaranteed to be Easy Start N Go.
Easy, right? Now you don’t need to worry anymore if your battery suddenly dies. What matters most is being prepared with a Dynavolt battery, so your motorbike stays in top condition with long-lasting performance.