May 20, 2025

Image source: https://www.beritantb.co.id/otomotif/1553772081/honda-vario-160-tampil-lebih-segar-segini-harga-di-pulau-lombok
Most of us may not understand the technical aspects of motorcycles and tend to worry when something goes wrong, such as when the motorcycle won’t start or is difficult to start. The reason is simple—we don’t know what to do.
However, in certain situations, we have no choice but to handle motorcycle problems on our own, especially when the bike won’t start or is hard to start. Therefore, it’s important for us to know how to install a motorcycle battery ourselves. This time, Dynavolt will discuss the steps to install a battery on a Honda Vario motorcycle. Let’s check out the explanation below.

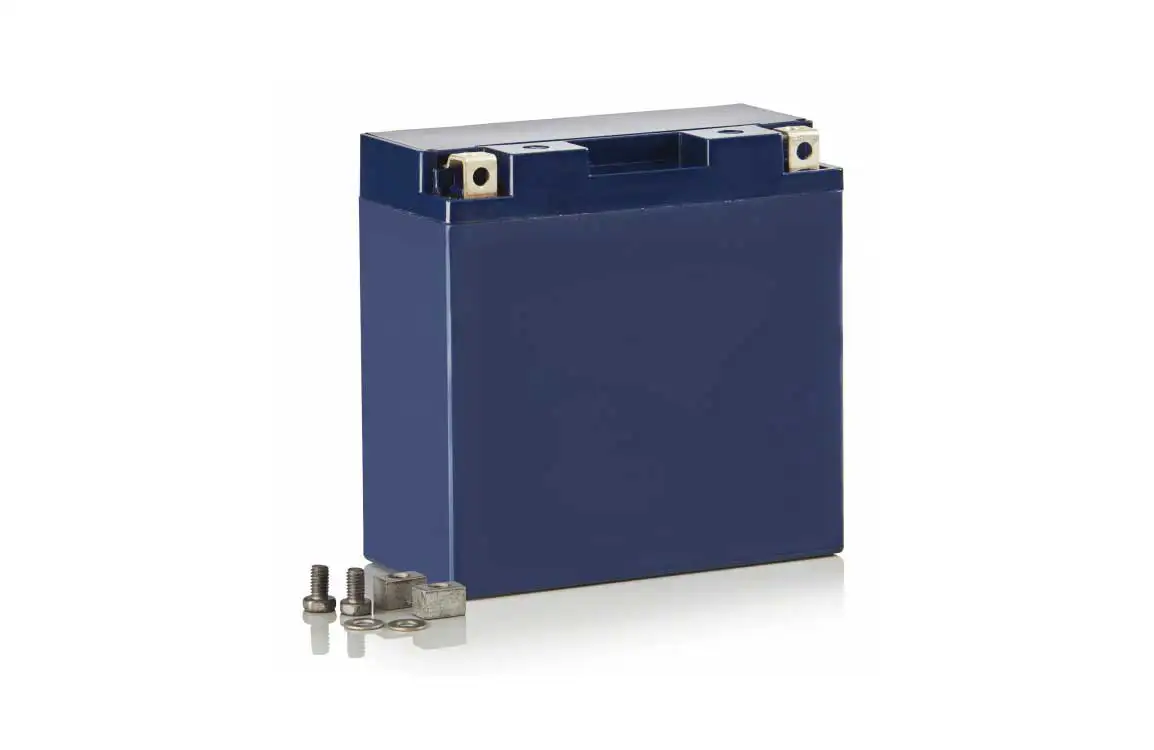
Dynavolt motorcycle battery and Phillips screwdriver
You don’t need many tools to install a battery on your motorcycle. Therefore, anyone can actually do it themselves without going to a repair shop. Of course, you need to buy a motorcycle battery, then prepare a Phillips screwdriver to open the battery compartment. As a tip, choose a high-quality battery so it lasts longer and is strong enough to support all the electrical devices on your Vario.

Illustration of opening the battery compartment on a Vario motorcycle
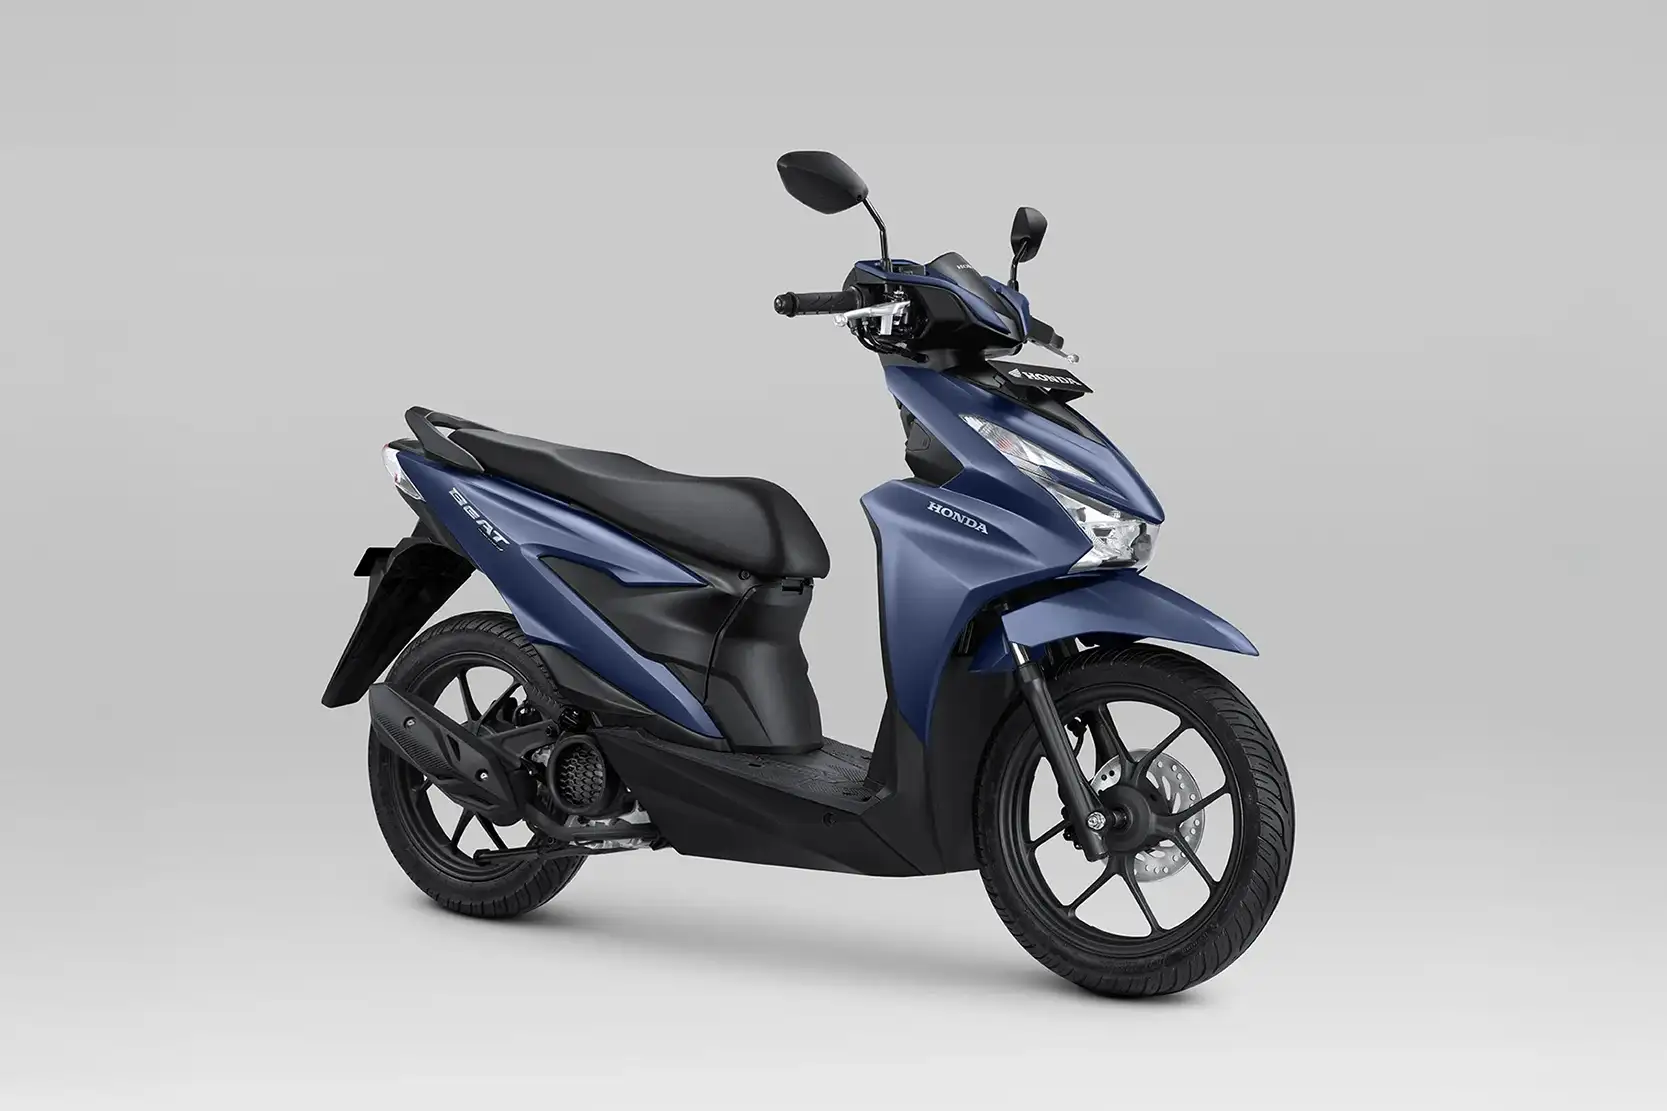
The battery cover for the Vario discussed this time is located at the right side footrest. If your Vario has a battery compartment in a different location, you can still follow these steps. First, remove the screws on the battery compartment using a Phillips screwdriver. Be sure to store them properly so they don’t get lost. Then, open the battery cover and move the cables inside the battery compartment to the side.

Illustration of inserting the battery into the Vario motorcycle
Before inserting the battery, make sure the battery’s position matches the positive terminal (red) and the negative terminal (black). You can also clean the battery holder area to remove any dust. Then insert the battery into the holder slowly and carefully to avoid scratches or damage.

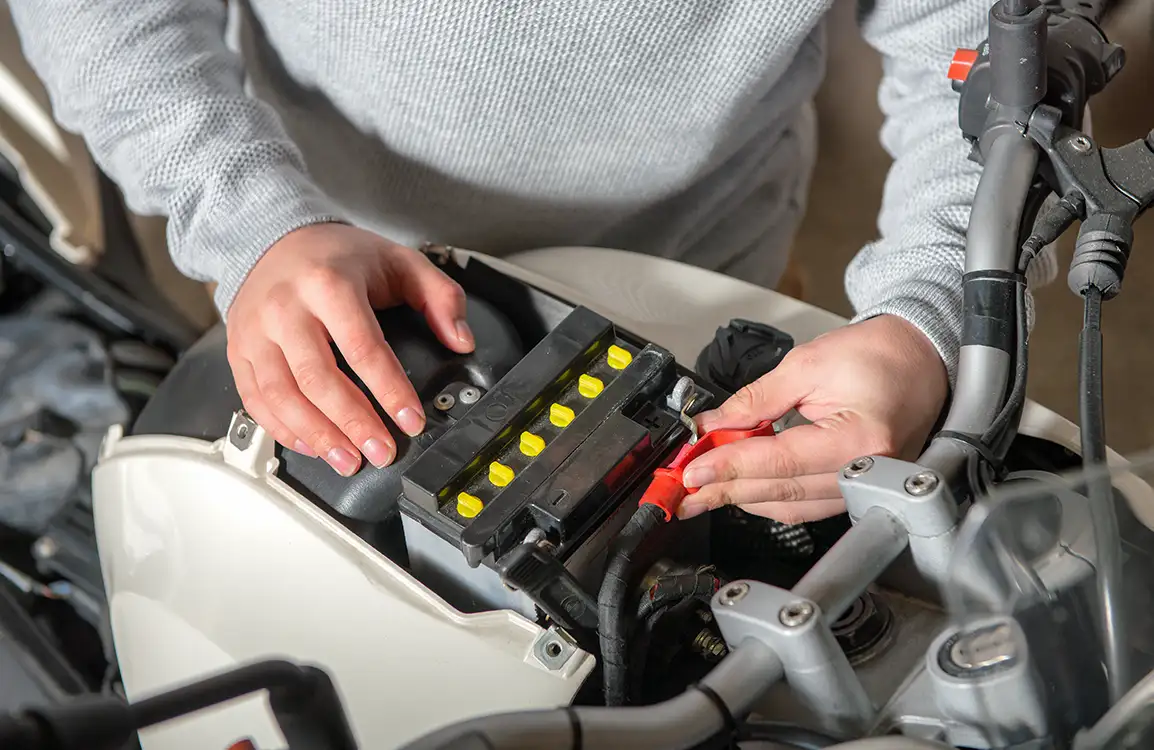
Negative and positive terminals on the Vario motorcycle battery compartment
Position the positive terminal cable (red) and the negative terminal cable (black) accordingly. Tighten the screws on each terminal. This process can be a bit tricky—the small size of the battery screws makes them easy to shift or fall into the compartment. If that happens, it can be quite a hassle. But don’t worry, there’s a tip to make it easier—attach the screw to the cable first so it doesn’t fall, then simply tighten it.
Once done, reinstall the battery cover. Make sure the battery cover is fitted properly and locked to prevent dirt or water from getting in. When all sides are aligned, go ahead and tighten the screws on the battery cover.

Illustration of a motorcycle electric starter
Turn on the ignition, and try the electric starter on your Vario. If the starter doesn’t run smoothly, the issue may lie in the battery installation. However, if it’s installed correctly, the starter should work easily and quickly. Especially if you use Dynavolt Nano-Gel Battery—your bike will be Easy Start N Go!
It’s a good idea to use Dynavolt batteries that are proven in quality and longer lasting than most conventional batteries. Besides Nano-Gel, Dynavolt also offers other variants like Lithium and Sodium Ion. Each has its own advantages. Find out more about Dynavolt batteries on Instagram @Dynavolt.Ind or the Dynavolt Official Store on Shopee and Tokopedia.

Image source: https://www.beritantb.co.id/otomotif/1553772081/honda-vario-160-tampil-lebih-segar-segini-harga-di-pulau-lombok
Most of us may not understand the technical aspects of motorcycles and tend to worry when something goes wrong, such as when the motorcycle won’t start or is difficult to start. The reason is simple—we don’t know what to do.
However, in certain situations, we have no choice but to handle motorcycle problems on our own, especially when the bike won’t start or is hard to start. Therefore, it’s important for us to know how to install a motorcycle battery ourselves. This time, Dynavolt will discuss the steps to install a battery on a Honda Vario motorcycle. Let’s check out the explanation below.
Dynavolt motorcycle battery and Phillips screwdriver
You don’t need many tools to install a battery on your motorcycle. Therefore, anyone can actually do it themselves without going to a repair shop. Of course, you need to buy a motorcycle battery, then prepare a Phillips screwdriver to open the battery compartment. As a tip, choose a high-quality battery so it lasts longer and is strong enough to support all the electrical devices on your Vario.
Illustration of opening the battery compartment on a Vario motorcycle
The battery cover for the Vario discussed this time is located at the right side footrest. If your Vario has a battery compartment in a different location, you can still follow these steps. First, remove the screws on the battery compartment using a Phillips screwdriver. Be sure to store them properly so they don’t get lost. Then, open the battery cover and move the cables inside the battery compartment to the side.
Illustration of inserting the battery into the Vario motorcycle
Before inserting the battery, make sure the battery’s position matches the positive terminal (red) and the negative terminal (black). You can also clean the battery holder area to remove any dust. Then insert the battery into the holder slowly and carefully to avoid scratches or damage.
Negative and positive terminals on the Vario motorcycle battery compartment
Position the positive terminal cable (red) and the negative terminal cable (black) accordingly. Tighten the screws on each terminal. This process can be a bit tricky—the small size of the battery screws makes them easy to shift or fall into the compartment. If that happens, it can be quite a hassle. But don’t worry, there’s a tip to make it easier—attach the screw to the cable first so it doesn’t fall, then simply tighten it.
Once done, reinstall the battery cover. Make sure the battery cover is fitted properly and locked to prevent dirt or water from getting in. When all sides are aligned, go ahead and tighten the screws on the battery cover.
Illustration of a motorcycle electric starter
Turn on the ignition, and try the electric starter on your Vario. If the starter doesn’t run smoothly, the issue may lie in the battery installation. However, if it’s installed correctly, the starter should work easily and quickly. Especially if you use Dynavolt Nano-Gel Battery—your bike will be Easy Start N Go!
It’s a good idea to use Dynavolt batteries that are proven in quality and longer lasting than most conventional batteries. Besides Nano-Gel, Dynavolt also offers other variants like Lithium and Sodium Ion. Each has its own advantages. Find out more about Dynavolt batteries on Instagram @Dynavolt.Ind or the Dynavolt Official Store on Shopee and Tokopedia.